In this post, I’ll teach you how to add a Pinterest button on your website without plugins, and the images will always display on your images, not mouse hover to display the button.
In the era of digital marketing and social media, integrating platforms like Pinterest into your website can significantly enhance your content’s reach and engagement. Pinterest is a powerful tool for driving traffic and increasing visibility, especially for visually-driven content. Adding a Pinterest “Pin It” button to your website’s images can encourage visitors to share your content, leading to more exposure and interaction.
In this article, we’ll guide you through the process of adding a Pinterest button to your images, ensuring it appears only on images with a height greater than 500px and opens in a new window with a specific size. Follow along to transform your website into a more engaging and shareable platform.
Why Add a Pinterest Button?
Before diving into the technical steps, let’s understand why adding a Pinterest button is beneficial:
- Increased Engagement: A Pinterest button allows users to easily share your content, leading to higher engagement rates.
- Enhanced Visibility: Shared content on Pinterest can attract more visitors to your website, increasing its visibility.
- SEO Benefits: More shares can improve your website’s search engine ranking, as social signals are considered in SEO algorithms.
- Visual Appeal: Pinterest is a visually-driven platform, making it ideal for sharing images, infographics, and other visual content.
Step-by-Step Guide to Adding a Pinterest Button
1. Basic HTML Structure
First, ensure your HTML structure is simple and clean. Here’s an example of what your HTML might look like:
<!DOCTYPE html>
<html lang="en">
<head>
    <meta charset="UTF-8">
    <meta name="viewport" content="width=device-width, initial-scale=1.0">
    <title>Pinterest Pin Button</title>
    <link rel="stylesheet" href="styles.css">
</head>
<body>
    <img src="path/to/your/image.jpg" alt="Description of image">
    <img src="path/to/another/image.jpg" alt="Description of another image">
    <script src="https://code.jquery.com/jquery-3.6.0.min.js"></script>
    <script src="script.js"></script>
</body>
</html>
2. CSS Styling
Next, style the Pinterest button and image container using CSS. This ensures the button appears correctly and does not interfere with the image display.
.image-container {
    position: relative;
    display: inline-block;
}

.image-container img {
    display: block;
    width: 100%;
    height: auto;
}

.pin-it-button {
    position: absolute;
    bottom: 10px;
    right: 10px;
    display: block;
}

.pin-it-button img {
    width: 32px;
    height: 32px;
}

/* Ensure that image links do not show underline or any default link styles */
.image-container a {
    text-decoration: none;
    border: none;
}

.image-container a:hover {
    text-decoration: none;
}
3. JavaScript for Functionality
Finally, use JavaScript to add the Pinterest button dynamically. This script ensures that the button appears only on images taller than 500px and opens in a new window of a specific size when clicked.
$(document).ready(function() {
    // Check if the current page is not the homepage
    if (window.location.pathname !== '/' && window.location.pathname !== '/index.html') {
        $('img').each(function() {
            var imgSrc = $(this).attr('src');
            var description = $(this).attr('alt');
            var imgHeight = $(this).height();

            // Only add the Pinterest button if the image height is greater than 500px
            if (imgHeight > 500) {
                // Wrap image with a container
                var container = $('<div>', { class: 'image-container' });
                $(this).wrap(container);

                // Create Pinterest button
                var pinButton = $('<a>', {
                    href: 'https://www.pinterest.com/pin/create/button/?url=' + encodeURIComponent(window.location.href) + '&media=' + encodeURIComponent(imgSrc) + '&description=' + encodeURIComponent(description),
                    class: 'pin-it-button',
                    'data-pin-do': 'buttonPin',
                    'data-pin-custom': 'true',
                    html: '<img src="https://assets.pinterest.com/images/pidgets/pinit_fg_en_rect_gray_20.png" alt="Pin it">',
                    target: '_blank'
                });

                // Append button to the container
                $(this).parent().append(pinButton);

                // Add click event to open in new window
                pinButton.on('click', function(event) {
                    event.preventDefault();
                    var width = 600;
                    var height = 600;
                    var left = (screen.width / 2) - (width / 2);
                    var top = (screen.height / 2) - (height / 2);
                    window.open(this.href, 'Pinterest', 'width=' + width + ',height=' + height + ',top=' + top + ',left=' + left);
                });
            }
        });
    }
});
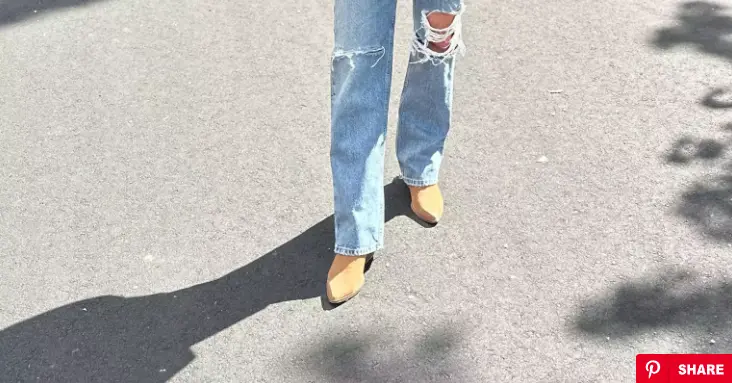
Visual Example
To give you a better idea of what the final implementation might look like, here’s an illustrative example:

This image depicts a modern web page with a Pinterest button integrated into an image, showcasing the clean and contemporary design.
Integrating a Pinterest button into your website images can significantly enhance user engagement and visibility. By following the steps outlined in this article, you can easily add this feature to your site, ensuring that it only appears on images with a height greater than 500px and opens in a new, appropriately sized window. This not only improves the user experience but also encourages more shares and interactions, driving traffic to your website.
Start leveraging the power of Pinterest today and watch your website’s reach and engagement grow!
Feel free to use this guide and the provided code to enhance your website’s functionality and user engagement. If you have any questions or need further assistance, don’t hesitate to reach out!